
General News
How to use Running Render: A Practical Guide to Running External Mouldings
Oct
How to Use Running Render: A Practical Guide to Running External Mouldings
Running Render is our specially developed range of rapid-setting natural cement mortars, designed for the in-situ running, reproduction and repair of traditional external cornices, string courses, window surrounds and other architectural mouldings. Developed through our own experience as working plasterers, the system combines traditional Roman cement techniques with consistent, pre-blended materials specifically formulated for the demands of running mouldings.
Unlike conventional rendering mortars, Running Render is designed to be applied in successive coats, allowing mouldings to be built up and shaped continuously using a running mould. This guide explains how the system works, how to control its setting time and the techniques we use to achieve consistent results, from constructing and setting up a running mould through to finishing and curing the completed work.
James Parker and the Origins of Roman Cement
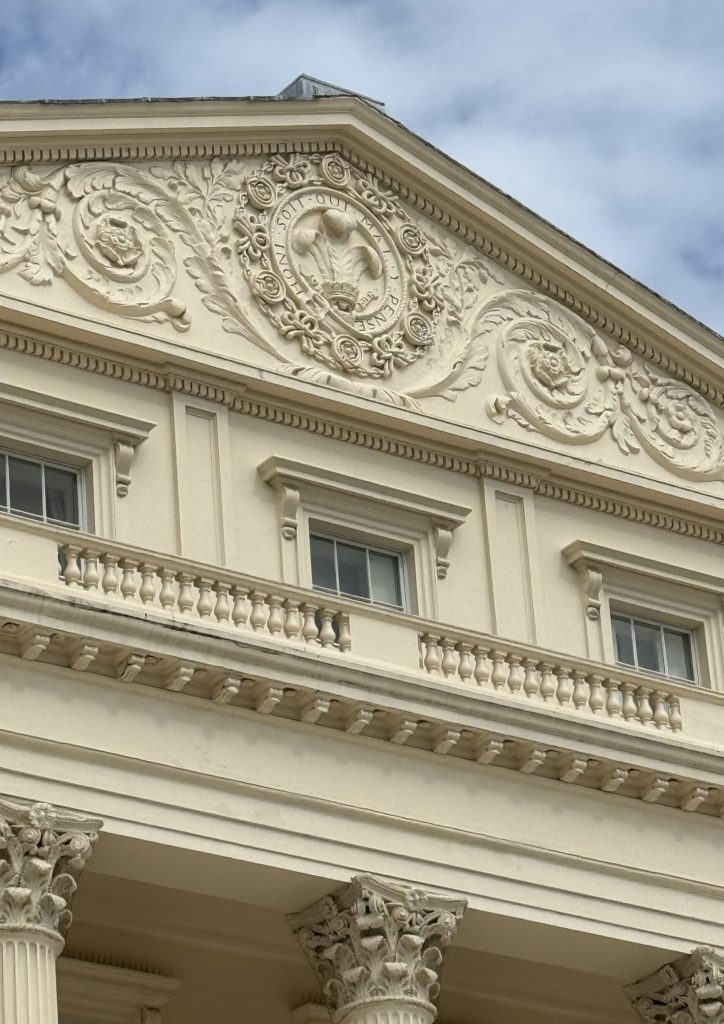
The use of natural cement for external mouldings has a long history, particularly in Britain during the late Georgian and Victorian periods. In 1796, James Parker patented a rapid-setting natural cement made by burning and grinding septaria, naturally occurring nodules containing limestone and clay, found along the coast of the Isle of Sheppey in Kent.
Initially known as Parker’s Cement, it became widely known as Roman Cement, although the name was somewhat misleading, as it had no direct connection with the materials used by the ancient Romans. Its rapid-setting properties, strength and durability made it particularly useful for external stucco work and architectural ornamentation. It could be built up and run into elaborate cornices, string courses and other decorative mouldings, allowing craftsmen to reproduce the appearance of carved stone at a fraction of the cost.
Roman cement became an important material in nineteenth-century architecture before gradually being superseded by Portland cement. Today, the conservation of surviving Roman cement façades and mouldings, along with the reproduction of missing architectural details, continues to demonstrate the value of these traditional natural cement techniques.
Understanding the Running Render System
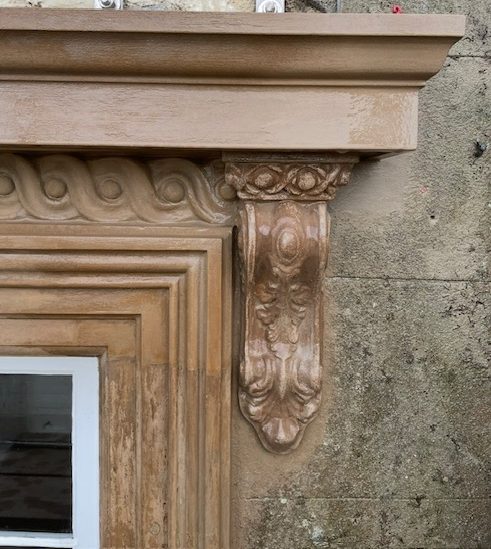
Our Running Render system consists of four specially formulated materials, each developed for a particular stage of the work. Muffle Coat is a coarse, fibre-reinforced mortar designed for building up the main body of the moulding, while Top Coat is a finer finishing mortar used to produce the final profile, sharp arrises and finer architectural details.
Primer & Adhesive is used as a bonding slurry between the prepared background and the first application of render, or between subsequent coats where required. It can also be used as an adhesive for fixing cast elements. Casting Mix is formulated for producing cast architectural details and components from silicone moulds to complement the in-situ running work.
The system can also be used with Tempo retarder, supplied separately, to adjust the working time to suit the application and conditions.
Why use a rapid-setting material?
If you are more accustomed to conventional lime renders, the speed at which Running Render sets can initially seem unusual. For running mouldings, however, that rapid set is one of its biggest advantages.
A moulding may need numerous applications of material before the full profile has been established. With a slow-setting mortar, considerable time can be spent waiting for each coat to become firm enough to receive the next. Running Render allows the moulding to be built continuously, applying a coat, running the mould, allowing the material to begin to firm before applying the next coat and running it again. The process continues until the moulding is built out to the required profile.
The important thing is learning to work with the set rather than against it.
Making a Running Mould
Before any material can be applied, you’ll need a running mould made to the profile of the cornice or architectural detail you’re intending to reproduce. A traditional running mould consists of a shaped metal profile, usually cut from sheet zinc, fixed to a timber stock and supported by a wooden horse. The horse provides stability and allows the mould to travel along fixed running rules while maintaining the correct position and angle against the building.
The first step is to establish the shape of the moulding. When repairing or reproducing existing architectural details, this will usually involve taking a profile from the surviving original. For new work, the profile can be drawn from a design or architectural drawing. The profile is then transferred onto a sheet of zinc and carefully cut and filed to the required shape. Accuracy at this stage is important, as any irregularities in the profile will be reproduced along the entire length of the moulding.
The zinc is fixed securely to a shaped timber stock, which supports the profile and prevents it from flexing during use. The stock is then attached to the slipper, with suitable bracing to keep the assembly rigid and square. The exact construction of the running mould will depend on the size, shape and position of the moulding, but the principle remains the same: the profile must be held rigidly and travel consistently along the running rules without twisting or changing position.
Setting Up the Running Rules
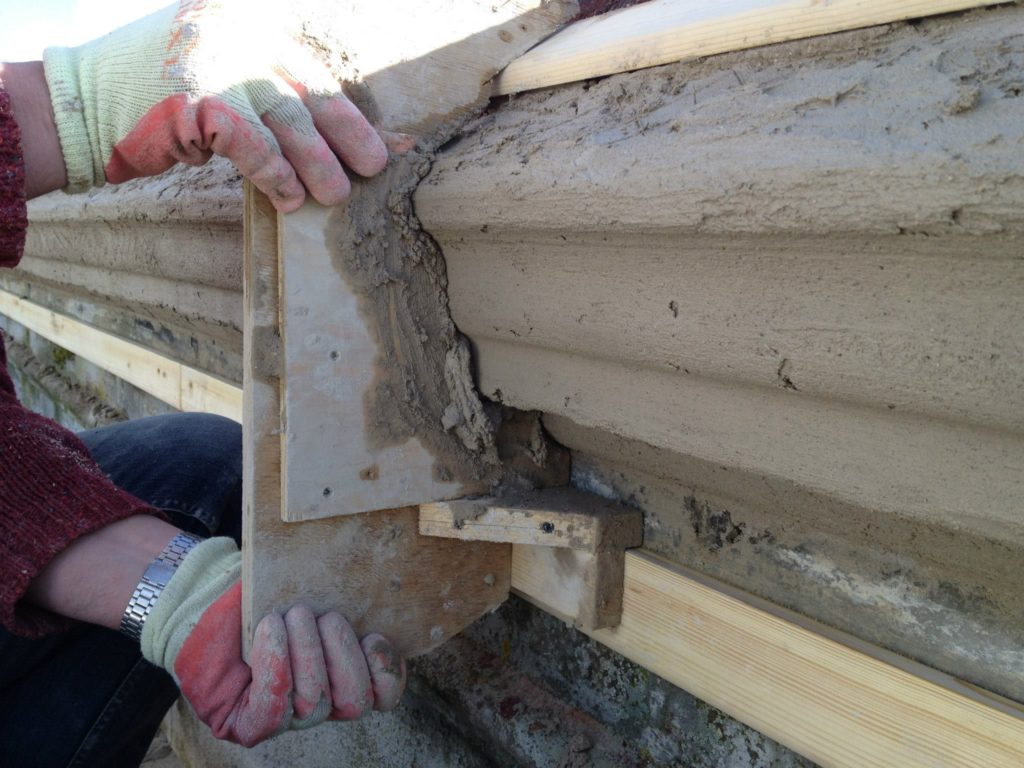
The running rules provide the guides along which the mould travels and are essential for producing a straight, consistent moulding. Depending on the location and shape of the work, the mould may run between two rules or be guided by a combination of a fixed rule and the existing building surface. Whichever arrangement is used, two points of contact are required to keep the mould running consistently.
The rules must be securely fixed, accurately aligned and positioned to allow the running mould to travel freely along the entire length of the work. A little vegetable or cooking oil applied to the rules and the slipper of the mould helps reduce friction and ensures a smooth run.
Before mixing any material, run the mould dry along the rules several times. Check that it travels smoothly, remains square and clears any obstructions. It’s much easier to correct a problem with the rules or running mould at this stage than after the first coat of material has been applied. Once everything is running correctly, the background can be prepared and the first applications of Running Render can begin.
Controlling the Working Time
One of the most useful things we have learned from working with rapid-setting natural cements is that there isn’t one ideal setting time for every job. Sometimes you want the material to set extremely quickly. On a small repair or a short section of moulding, a fast set means another coat can be applied almost immediately. On a long cornice run, however, you may need considerably more time simply to apply the material and get the running mould through it.
Temperature, weather conditions, suction and the size of the run all influence this. For this reason, Running Render is manufactured without retarder already incorporated into the dry mix. Used without retarder, the working time can be extremely short, typically somewhere between around 90 seconds and five minutes depending on conditions.
Where a longer working time is required, Tempo retarder can be added to the gauging water. This allows the set to be adjusted from a few minutes through to approximately 20–30 minutes where necessary. That flexibility is particularly useful throughout the year. A mix that behaves comfortably on a cool winter morning may be far too quick on a warm summer day.
Gauge the water, not every individual mix
When using retarder, we find the simplest approach is to gauge the water rather than trying to dose every small batch of material individually. Prepare a bucket of clean water containing the required amount of Tempo and use this same water for your mixes.
As a starting point, we generally recommend approximately two capfuls of Tempo to a standard full bucket of clean water. The Tempo bottle cap contains an inner measuring cup to make this easier. This is only a starting gauge, however, and before beginning the main work, we recommend mixing a small amount of Running Render in a pot or rubber bowl to see how it behaves.
If it sets too quickly, increase the strength of the Tempo gauge. If the working time is unnecessarily long, reduce it. The aim isn’t to achieve a particular number of minutes on a stopwatch, but to give yourself a comfortable amount of time for the work you are actually doing.
Mixing Running Render
Running Render is designed around small batch mixing. Trying to mix a large bucket of rapid-setting material and then racing to use it before it sets usually makes the job harder rather than faster. Instead, mix only what you can comfortably apply during the available working time.
For most work we recommend mechanical mixing with a small whisk, although very small quantities can easily be mixed in a rubber bowl using a small tool. Slowly add the gauged water until the mortar reaches a workable plastic consistency. It should be wet enough to apply and compact properly but stiff enough to remain where it is placed and hold the developing profile.
Avoid making the material excessively wet simply to increase the working time. If you need more time, adjust the retarder rather than the consistency of the mortar. Once the material has begun to set, never attempt to bring it back by adding more water. Partially set mortar should be discarded and a fresh small batch mixed.
Preparing the Background
As with any external render or plastering work, preparation is important. The background should be sound and free from dust and loose material. Highly absorbent backgrounds should be controlled appropriately so that they do not pull moisture too rapidly from the fresh mortar.
Before applying the first coat of Running Render, the prepared and pre-wetted background is coated with Running Render Primer & Adhesive, mixed and applied as a bonding slurry. The first coat of render is then applied while the slurry remains wet. This provides the bond between the new material and the prepared background and establishes the starting point from which the moulding can be built.
Building the Moulding with Muffle Coat
The first applications establish the bulk of the moulding. Running Render Muffle Coat is the coarser, fibre-reinforced material within the system and is designed specifically for this stage.
The term muffle refers to the traditional technique of muffling the running mould. This involves fixing a thin piece of plywood or zinc over the profile of the mould, projecting approximately 5–10 mm beyond the finished shape. The muffled mould produces a slightly reduced version of the final profile, allowing the bulk of the moulding to be built up without using the finer finishing material.
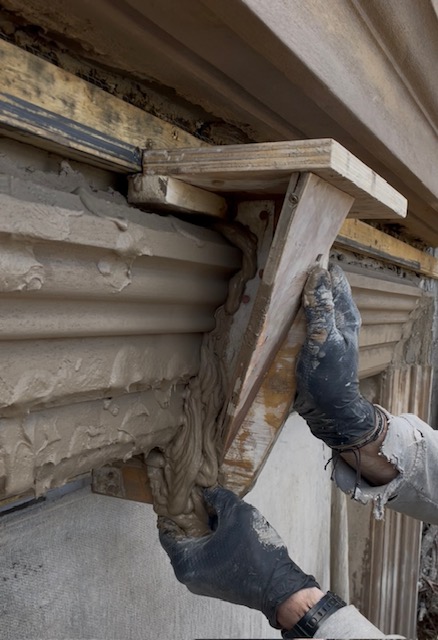
Material is applied generously along the line of the moulding and the running mould is passed along the rules to begin establishing the profile. At this stage you are not trying to achieve a finished surface. The purpose is to build the mass of the moulding efficiently while gradually getting closer to the final shape.
After each pass, look at where the running mould is removing material and where hollows remain. Apply fresh material where it is needed and run the mould again. As the previous application begins to stiffen, another can be applied. This process of apply, run, build and repeat gradually brings the moulding out to the required profile.
The advantages of the rapid set become very apparent here. Rather than waiting hours between applications, successive coats can often be built one after another.
Knowing when to apply the next coat
Timing between applications is important. The previous coat needs enough firmness to support the next application, but ideally you don’t want it to dry completely before continuing. This process is known as green-on-green working.
If work is interrupted and the previous coat has been left for a significant period, such as overnight, we recommend applying another coat of Running Render Primer & Adhesive before continuing. The exact timing will always depend on temperature, weather and the suction of the work.
Running the Finish with Top Coat
Once the main profile core has been established with Muffle Coat, the muffle can be removed from the running mould. This exposes the final profile and creates the space required for the finishing material.
Running Render Top Coat is then applied in much the same way as the earlier coats, but now the aim is to fill the remaining profile and produce the finished surface. Again, multiple applications are generally required rather than attempting to fill everything in a single heavy pass.
Once the majority of the profile has been formed, the material can be mixed to a slightly thinner consistency and applied as a brush coat. Using a bowl and brush allows the Top Coat to be worked into smaller imperfections, building up sharp arrises and filling fine details more efficiently than with a small tool or trowel.
At this stage, the running mould should begin to travel cleanly along the work, removing progressively less material with each pass until the complete profile has been formed.
Weather, Curing and Colour Development
External conditions have a considerable effect on both working time and curing. Warm weather can significantly accelerate the set and increase the rate at which moisture is lost from the work. Wind and direct sunlight can be equally problematic, particularly on projecting mouldings with a relatively large exposed surface area.
Cold conditions will have the opposite effect and extend working and setting times. Running Render should not be applied in freezing conditions or where frost is expected before the material has adequately cured.
Curing the finished moulding
Rapid setting does not mean that the finished work should be allowed to dry rapidly. Once the moulding has been completed, it should be protected from excessive sun, wind and other conditions that could cause premature drying. Where necessary, lightly mist the work or use suitable damp coverings to retain moisture during the first 48–72 hours.
Good curing allows the mortar to develop properly and reduces the risk of shrinkage and cracking. From our experience working with Running Render, curing conditions also have a noticeable influence on the final colour. Rapid moisture loss tends to produce greater variation in the finished mortar colour, whereas slower curing and moisture retention during the early stages generally result in a more consistent appearance. This is particularly worth considering when carrying out repairs alongside existing mouldings or where a uniform finish is required.
Practical Tips and Common Mistakes
Probably the biggest adjustment when first using a rapid-setting natural cement is resisting the temptation to treat it like an ordinary render. If the material is beginning to set, don’t keep working it. If a batch has gone too far, discard it and mix another. If you need more working time, change the Tempo gauge. If you need the next coat to firm quickly, reduce the amount of retarder or use none at all.
Once you begin controlling the set to suit each stage of the work, the speed of the material becomes an advantage rather than something you are racing against.
Some of the most common mistakes to avoid are:
- Mixing batches that are too large.
- Adding excessive water to gain more working time.
- Trying to re-temper material once it has started to set.
- Applying successive coats before the previous application has sufficient firmness.
- Leaving previous coats too long without renewing the bonding slurry.
- Allowing highly absorbent backgrounds to draw moisture too quickly.
- Failing to adjust the retarder as temperature and working conditions change.
- Allowing newly completed mouldings to dry too rapidly.
Once the relationship between batch size, consistency and setting time becomes familiar, the whole process becomes considerably easier.
Learning the Process
Running mouldings has always been a practical skill. A written guide can explain the principles, but there is no substitute for making a short practice run and learning how the material feels as it passes through the different stages of its set.
If you are using Running Render for the first time, we recommend making a small test piece before beginning a large or important run. It gives you an opportunity to establish the right consistency and Tempo gauge for the conditions and to become familiar with how quickly successive coats can be applied.
Once that rhythm is established, rapid-setting natural cement is an exceptionally effective material for producing and repairing traditional external mouldings.
Further Information
For condensed product-specific mixing, application and safety information, refer to the Running Render User Guide, available to download from the relevant product pages.
You can also explore the complete Running Render range, including Muffle Coat, Top Coat, Casting Mix, Primer & Adhesive and Tempo retarder, on The Natural Plaster Company website.
